HubSync Client User Guide
Getting Started with HubSync: Client Instructions
In this guide, you will find information on how to log in and navigate HubSync’s features. This guide provides detailed instructions for clients on how to create and use their HubSync workspace to collaborate with EisnerAmper for tax preparation and document management.
What You'll Find
Creating your Account
Your EisnerAmper engagement team will invite you to collaborate by creating a workspace for you in HubSync. Workspaces are the main location for engaging with EisnerAmper.
Once your engagement team generates your workspace, you will receive an email notification. Here is a preview of what you will receive:
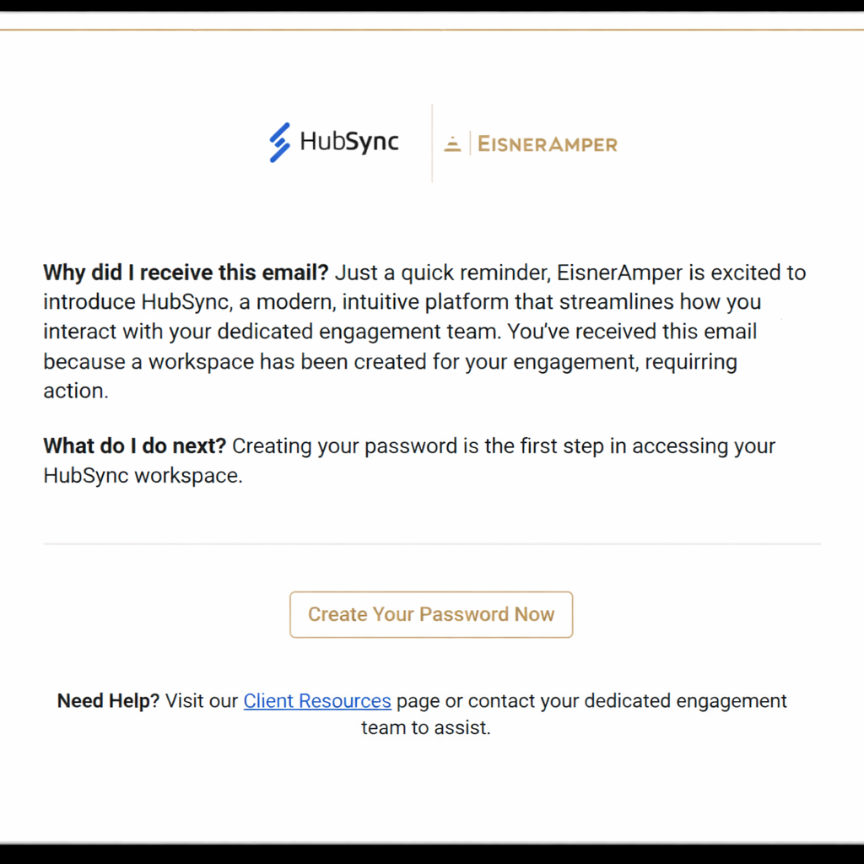
Click the “Create Your Password Now” link to start setting up your workspace. Please remember to add the email addresses Notifications@assuresign.com (EisnerAmper uses Assuresign as its electronic signature platform) and no-reply@hubsync.com to your safe senders list to ensure important messages get to you.
Workspaces with Tax Organizer
From inside your workspace, many users (mostly individual users) will see the following tabs across the top of their screen*:
*Please note that if you are an individual user and you do not see the tax return dashboard as your default landing page inside your workspace, you may have had a custom instance created for you by your EisnerAmper engagement team. In this scenario, a Request List will be available to you (see the “Workspaces with Request Lists section). We’d recommend checking with your engagement team to confirm.
- Tax Return: Provide necessary tax return information using a step-by-step process
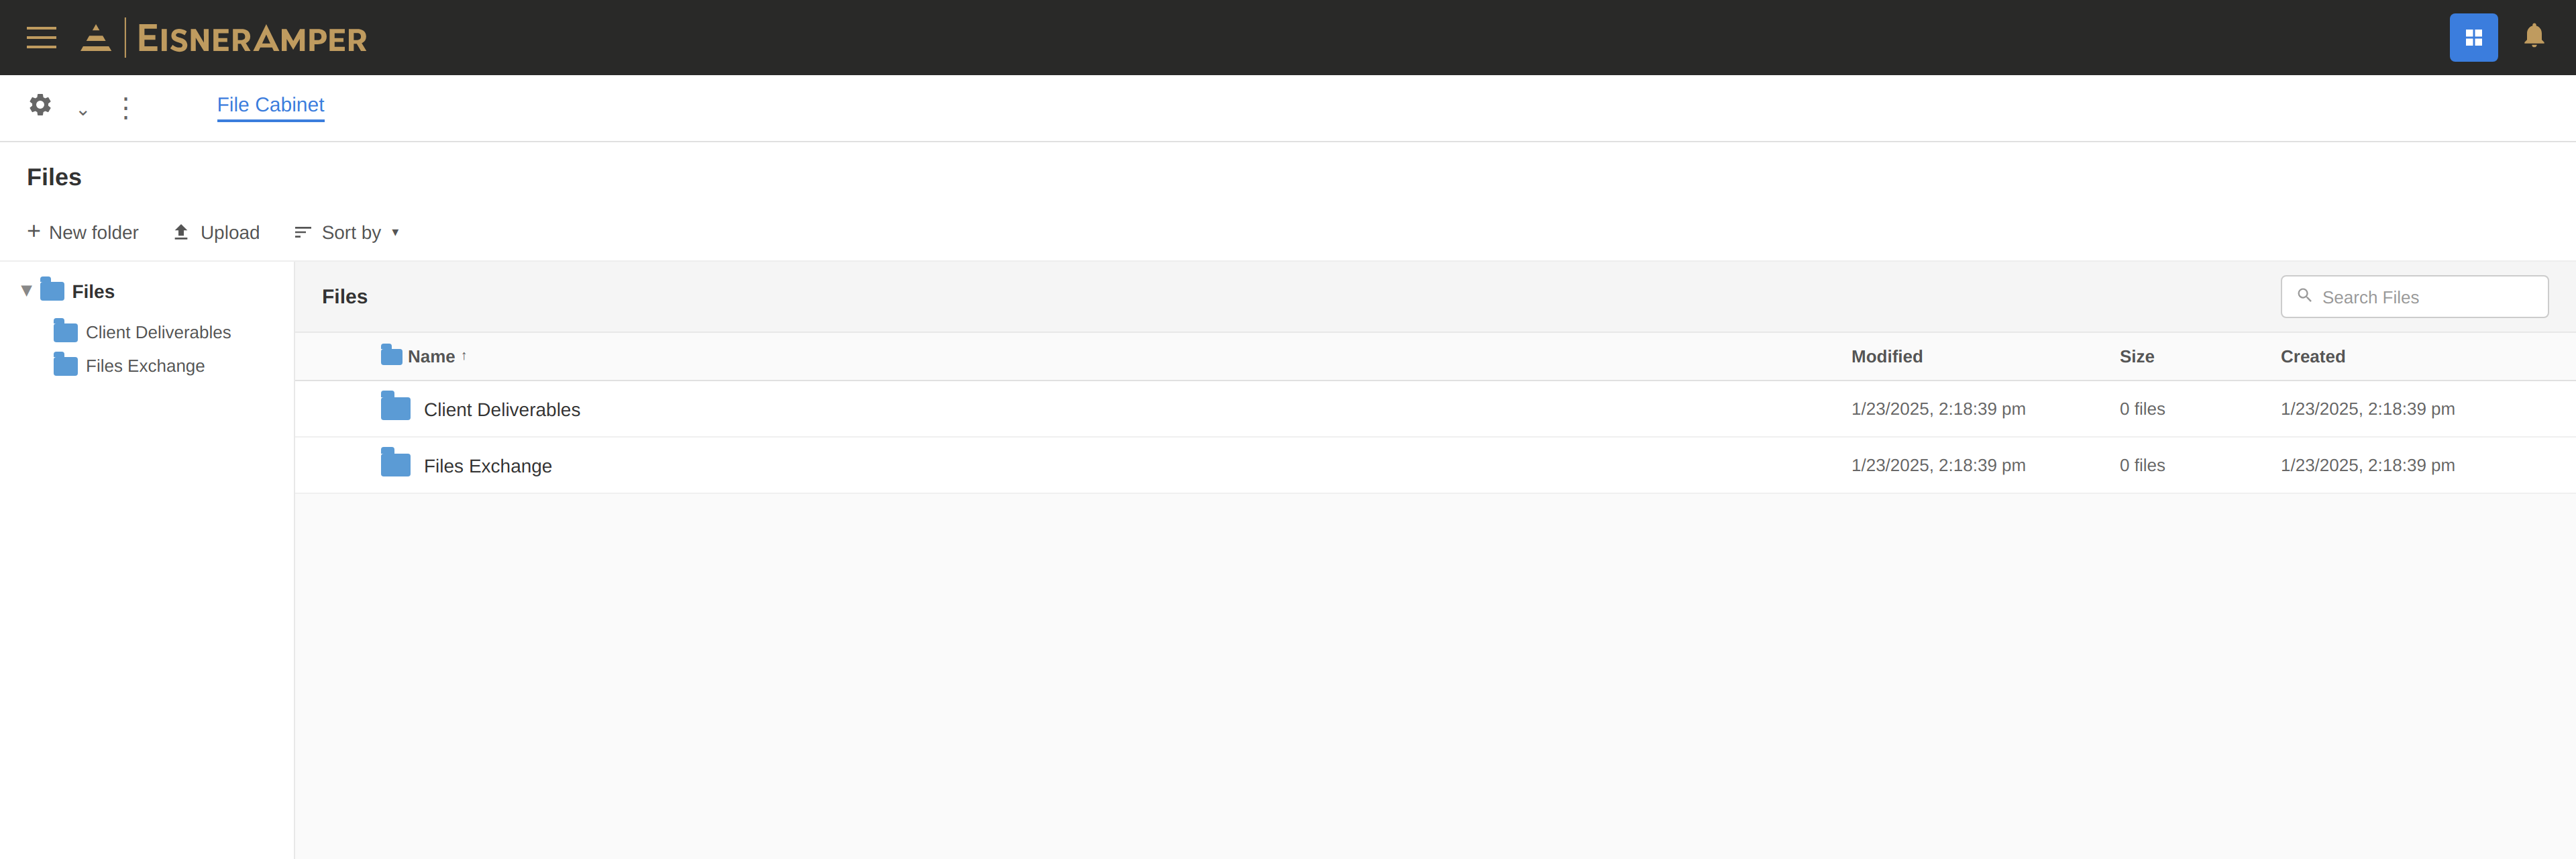
- Files: Centralize and manage your documents efficiently within each workspace
- Activity: See the latest activity by you and your EisnerAmper engagement team

The default landing page inside your workspace is your tax return dashboard. Use this dashboard for a guided, step-by-step approach to preparing your tax return.
Tax Organizer – Tax Year Updates
Clicking on “Get Started” will open your Tax Organizer. You can view your dashboard progress at the top of the screen and begin by answering the questions.
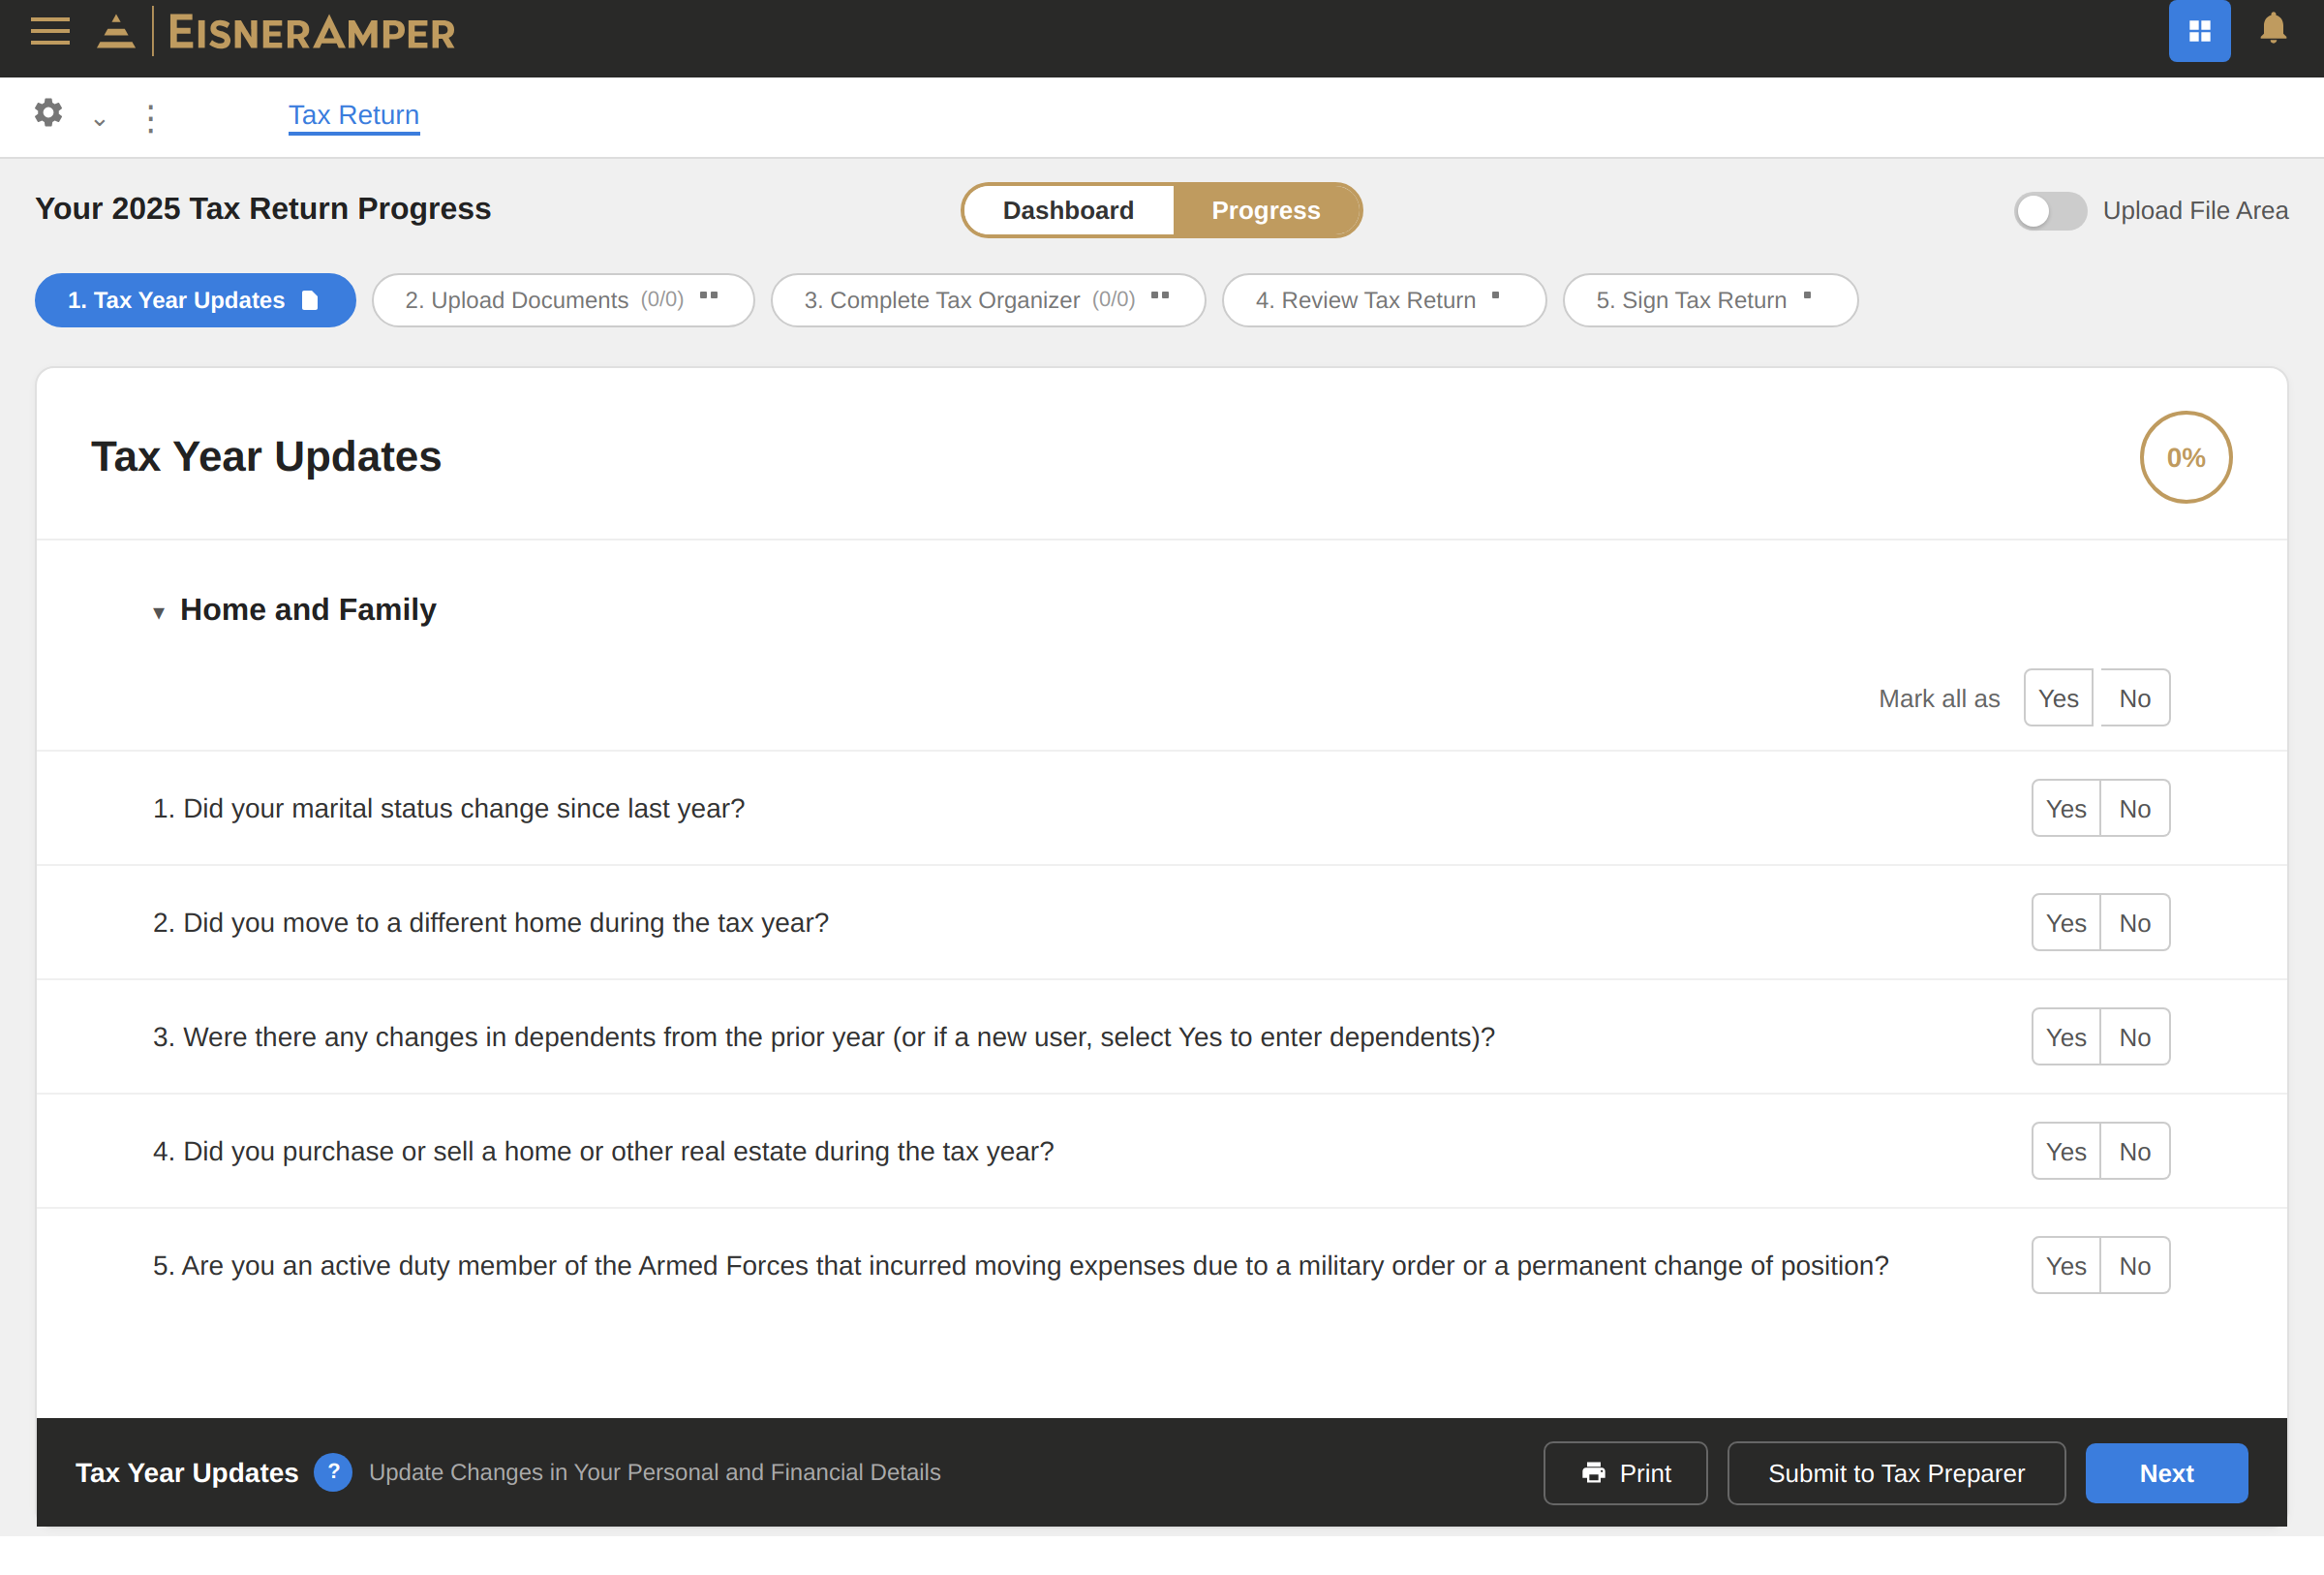
In Step 1 (Tax Year Updates), you will be given a list of “Yes” and “No” questions to answer for the current tax year. Simply answer these questions as best you can. Once the questions are answered, use the “Next” button in the bottom right-hand corner of the screen to proceed.
Tax Organizer - Upload Documents
In Step 2 (Upload Documents), prior-year information will typically appear on the left side of the screen, if available. Here, you can remove a document for the current year by clicking the trashcan icon if the document does not apply anymore. On the right side of the screen, you can upload files from your device or drag/drop them into the upload box.
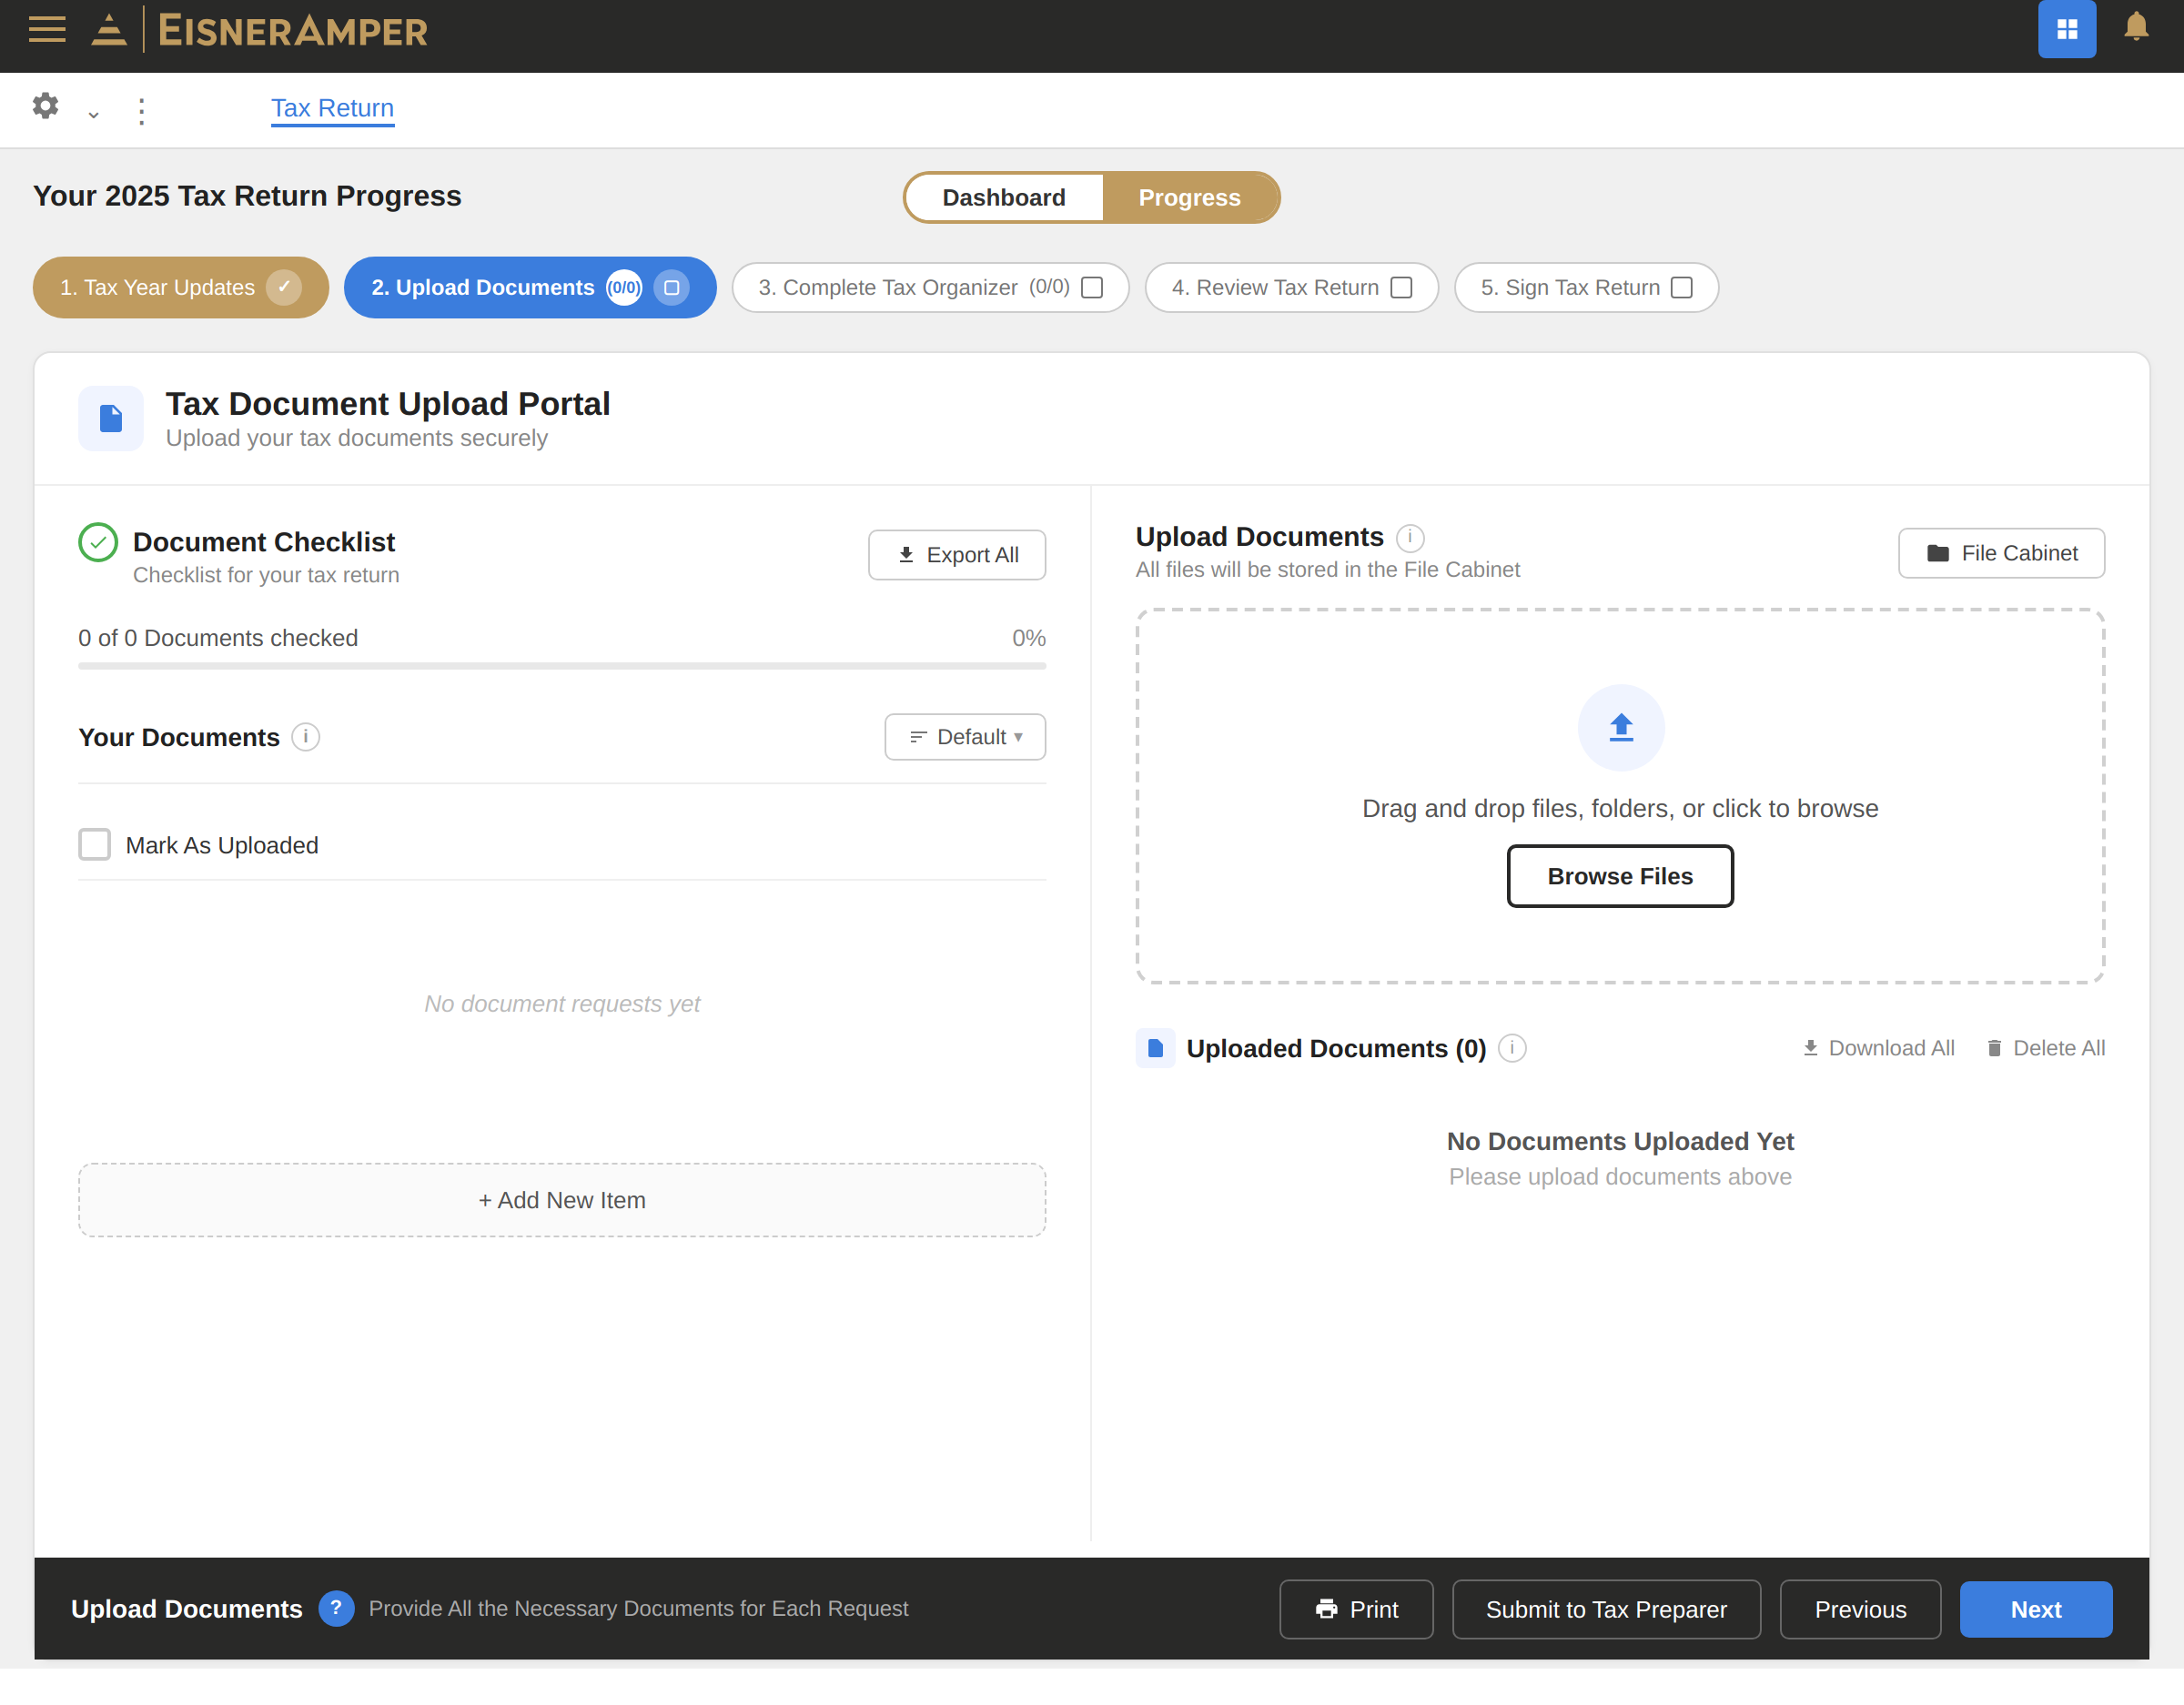
When you have finished uploading documents, you can use the “Next” button in the bottom right-hand corner to go to the next section of the organizer.
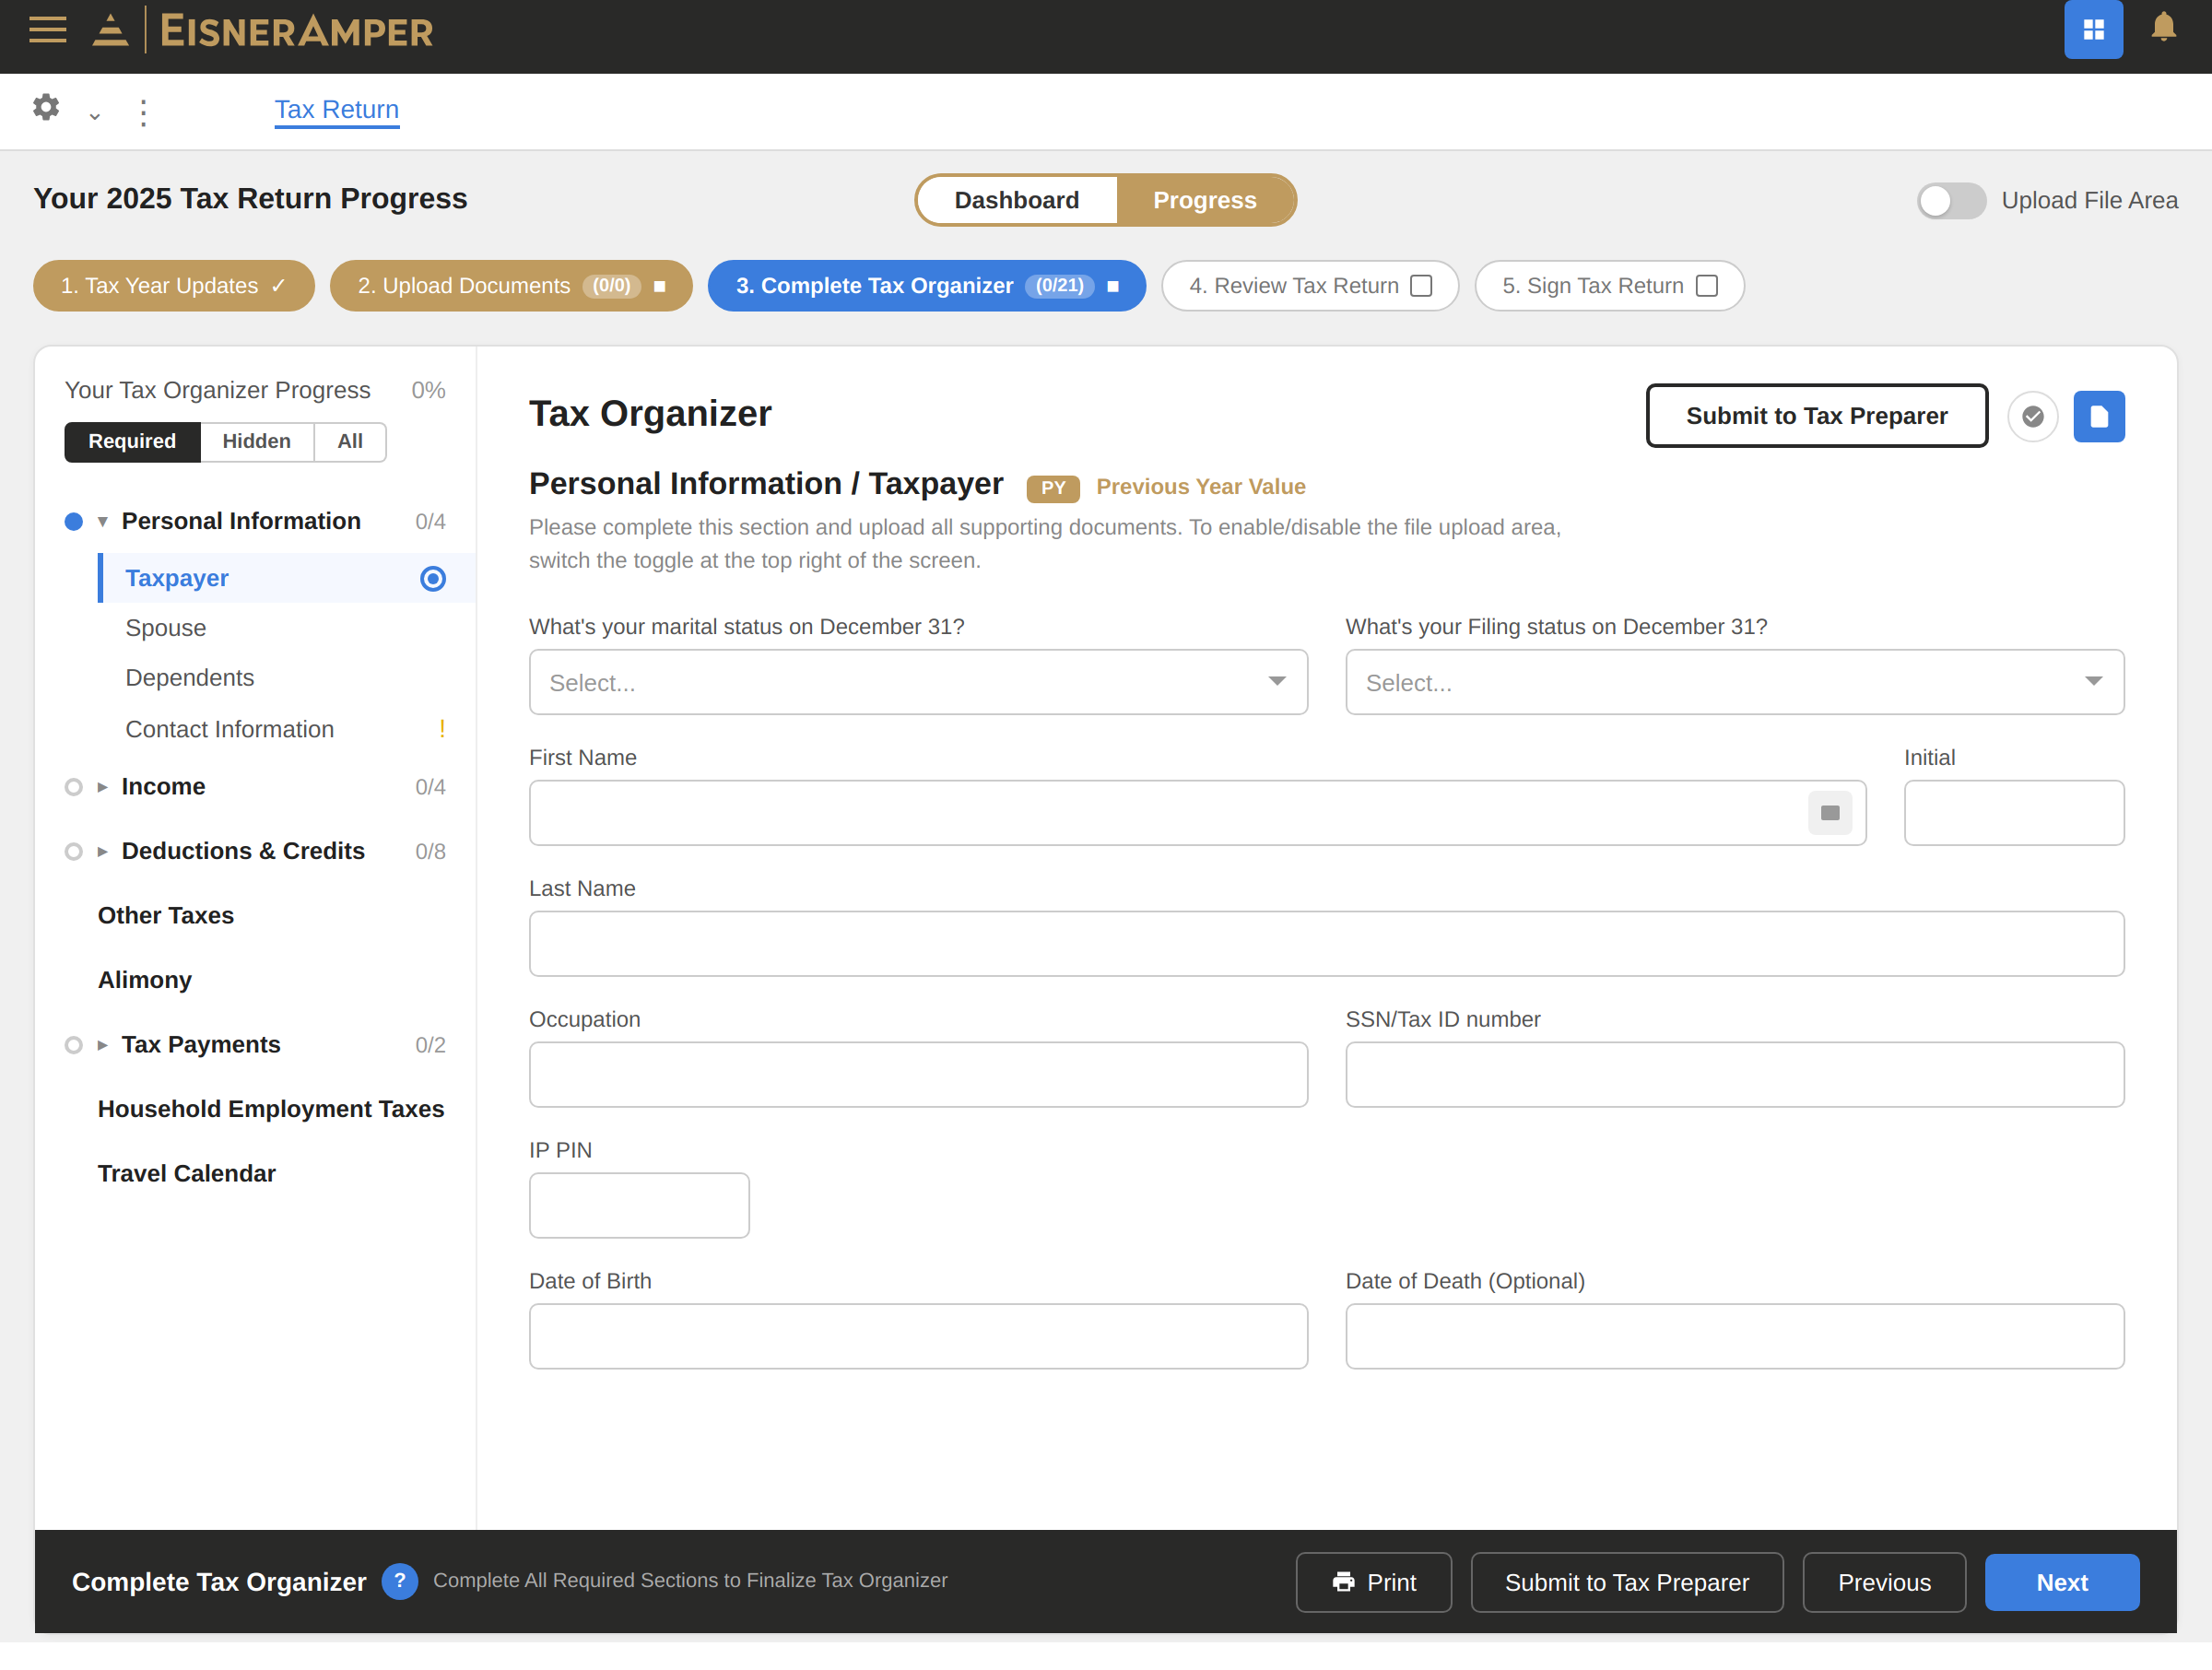
Tax Organizer - Complete Tax Organizer
Step 3 (Complete Tax Organizer) is where you will verify your personal tax information. A green checkmark will appear on the left-hand navigation panel as you complete each step.
- Based on your answers to the Tax Year Updates (step 1 of the Organizer), you will be prompted to answer questions about your personal and financial information.
- NOTE: the system does not auto save, so please click next or move to a different screen to ensure that your data inputs are saved.
- Click “Submit to Tax Preparer” when you’re ready to send your information to our tax team.
- NOTE: Do not add or change anything after you click “Submit to Tax Preparer.” Any changes made to the Organizer after submission will not be captured. You can continue to upload documents as you receive them, but please contact your EisnerAmper tax professional should you need to make any other adjustments to the information added to the Organizer.
Tips that may help:
- For business or rental activities, you can provide a listing of income and expenses by category instead of using the Organizer. If you track that information in Excel or an accounting software, you can upload those reports directly to either the File Cabinet tab or the Upload Documents section of the Organizer.
- Itemized deductions (such as charitable contributions, property taxes paid, etc.) are generally not shown on third party tax documents. If relevant to you, these deductions are a section that we would like you to focus on. If you have a summary or listing in another format, you can upload that document directly.
- You do not need to have all tax reporting forms to complete your organizer. These forms are often delayed into late March or early April. We ask that once you have completed the sections of the organizer that aren’t duplicated by tax reporting documents, please click the “Submit to Tax Preparer” button.
- Though you should not make any changes to the Organizer inputs in Step 1 and Step 3, you can still upload additional documents that may have been made available to you later in the year, even after clicking the “Submit to Tax Preparer” button within the organizer. To do so, click on the Upload Documents button on the main screen.
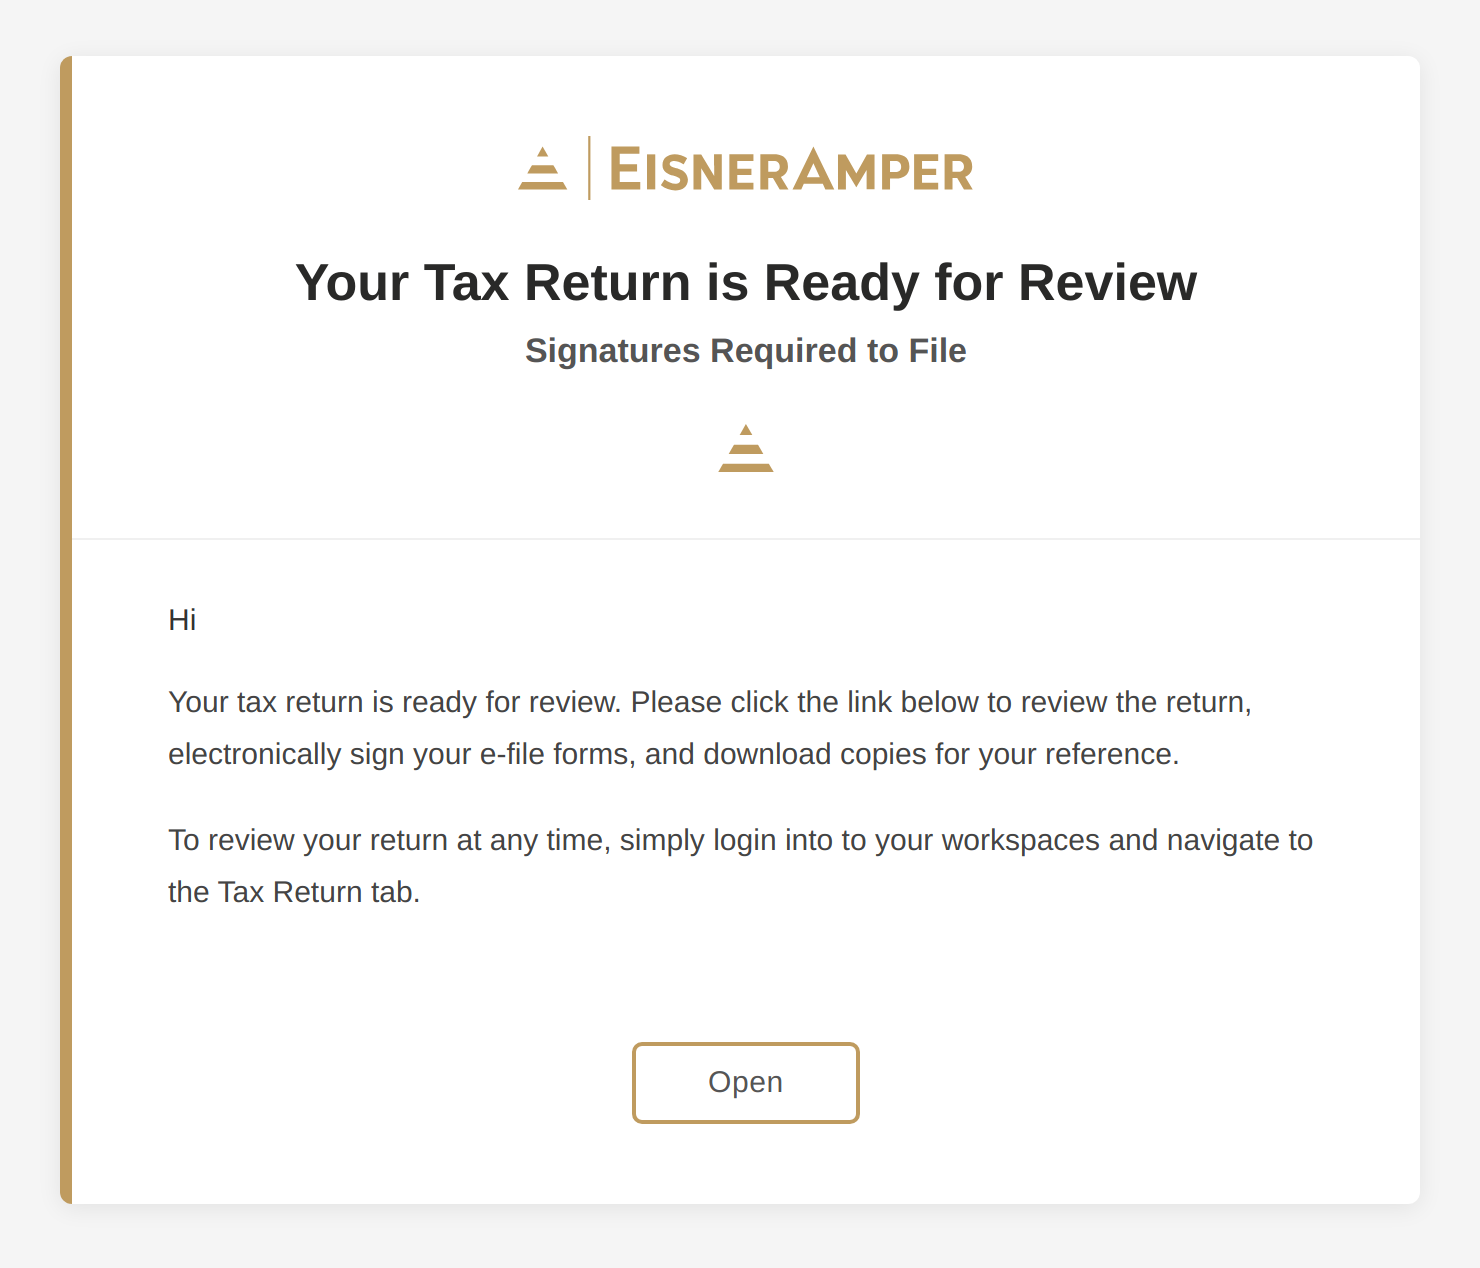
Once your Tax Return is Ready
Once the tax return is ready for your review, you will be asked to review and sign it. Reviewing and signing your tax return will appear as Step 4 (Review Tax Return). Here’s a screenshot of what the email will look like:
Once you log in:
- You will be directed to Step 4 (Review Tax Return). You will have the option to download your tax return at the bottom of this page.
- After completing Step 4, you will be brought to Step 5 (Sign Tax Return).
- Follow the prompts provided in Step 5 to adopt a signature, sign, and submit your tax return.
- Please note that if there are two of you signing the return, the taxpayer must sign FIRST before the spouse will be able to sign the 8879-tax form.
*Please note that some clients will receive an email from DocuSign instead of Assuresign when their tax return is ready.
Workspaces with Request Lists
If you work at a business, the EisnerAmper engagement team can grant access to multiple contacts at your organization — for example, your CFO, Controller, and operations staff — so that everyone who needs to upload documents, respond to requests, or review deliverables can do so in one place. If new team members join later, our team can add them at your request, and they’ll receive their own secure invitation to access the relevant workspaces.
It’s recommended to let your EisnerAmper team know who you would like to have HubSync access, as each individual will receive their own secure HubSync login. Once logged in, they’ll see all the entities, trusts, and other workspaces they’ve been granted access to in a single view.
From inside your workspace, many users (mostly entities and fiduciaries, but some individual users as well) will see the following tabs across the top of your screen:
- Request List: Stay on top of requests and tasks assigned to you and your team
- Files (or File Cabinet): Centralize and manage your documents efficiently within each workspace
- Activity: See the latest activity by you and your EisnerAmper engagement team
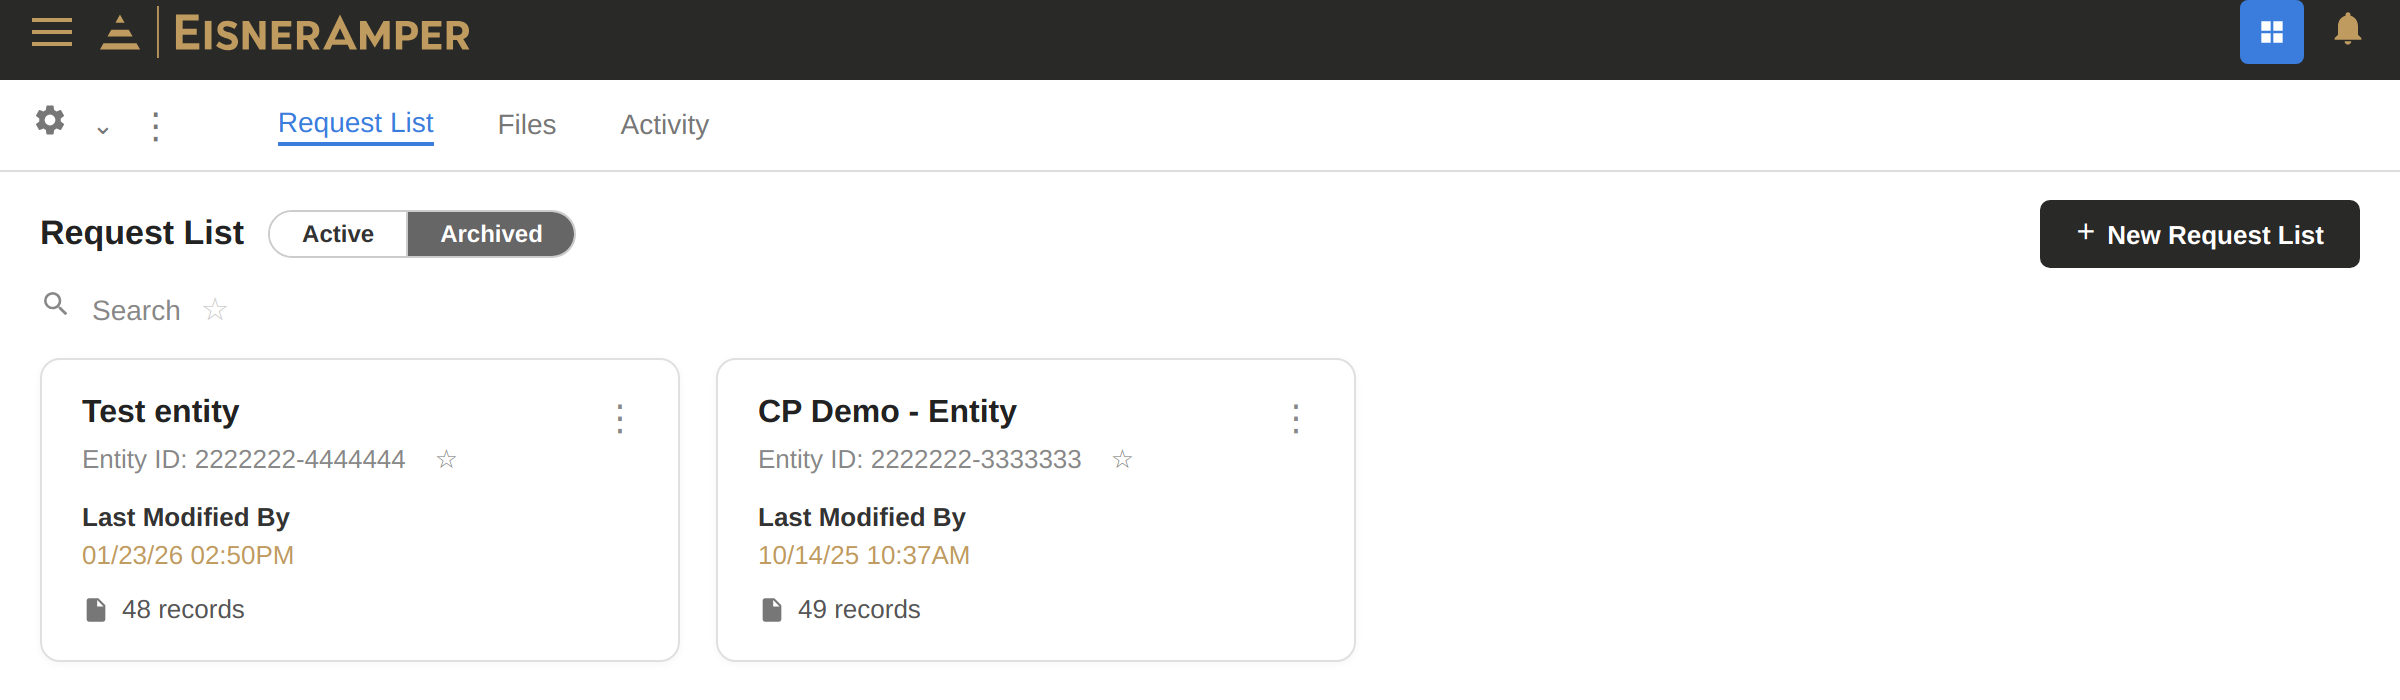
In this example, you can see the different tabs (Request List, Files, Activity), as well as two different workspaces (if desired, you can have multiple workspaces created).
For Scenarios with Multiple Workspaces: When your email address is linked to different engagements with EisnerAmper, and all invites go to that same email, you can view all your workspaces together in one location.
Request Lists
Request Lists are where you and your EisnerAmper engagement team can collaborate on a number of items.
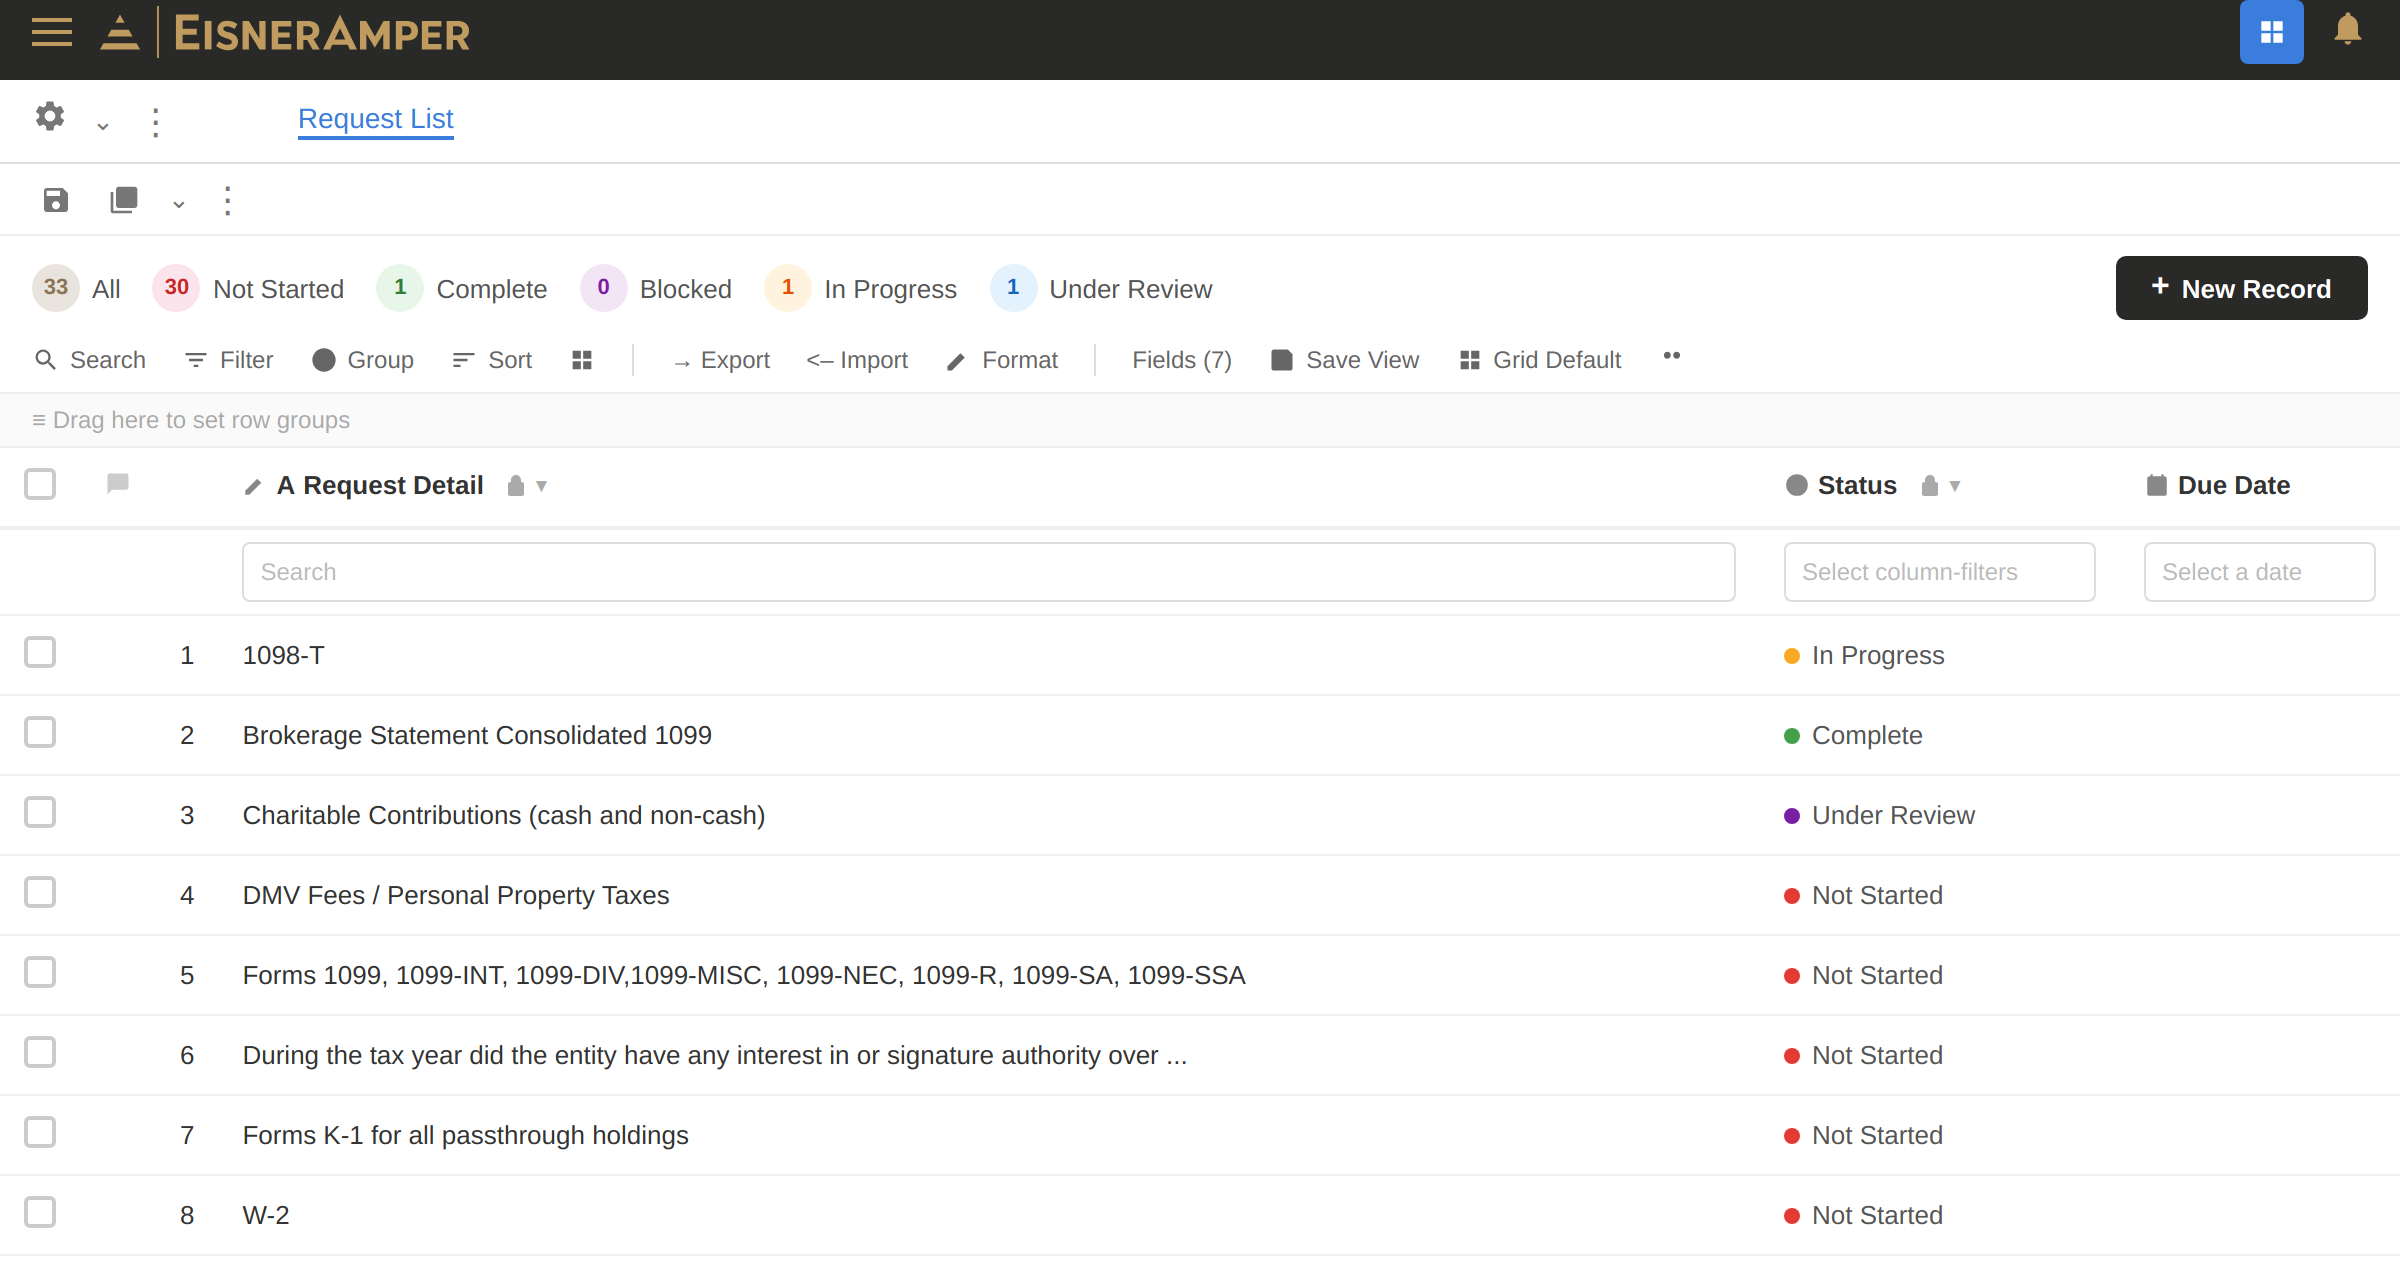
Here, your EisnerAmper engagement team can set up tasks for specific items (such as Trial Balance, Fixed Asset Schedules, W2 forms, 1098-T forms, brokerage statements, etc.) to keep everyone up to speed on due dates, status, etc.
In your request list, you can attach your files directly to each row, and you can also add comments. This will set you and your EisnerAmper engagement team up for success in completing necessary tasks.
Finishing a Tax Return: if you are using a Request List and once your EisnerAmper engagement team has gathered the necessary documents and information needed for completing a tax return, you will receive an email from Assuresign (EisnerAmper’s electronic signature platform) asking you to sign your tax return. Once signed, our EisnerAmper team will then file your return.